 Hyundai Azera: General Information
Fifth generation HG (2011–2025) / Hyundai Azera 2011-2025 Service Manual / Engine Electrical System / General Information / General Information
Hyundai Azera: General Information
Fifth generation HG (2011–2025) / Hyundai Azera 2011-2025 Service Manual / Engine Electrical System / General Information / General Information
Fifth generation HG (2011–2025) / Hyundai Azera 2011-2025 Service Manual / Engine Electrical System / General Information / General Information
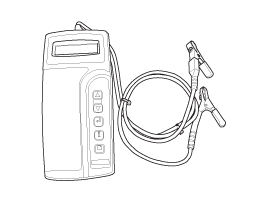
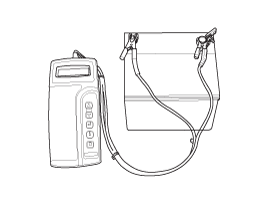
| The Micro 570 Analyzer (Canada only) |
The Micro 570 Analyzer provides the ability to test the
charging and starting systems, including the battery, starter and
alternator.
? Because of the possibility of personal injury, always use
extreme caution and appropriate eye protection when working with
batteries.
? When charging battery by test result, Battery must be fully charged.
To get accurate test result, battery surface voltage must
have subsided ahead before test when you test battery after charged.
(See following Battery Test Results) |

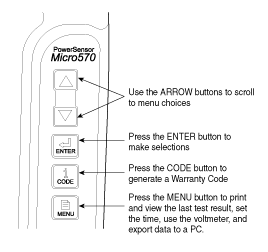
Keypad
The Micro 570 button on the key pad provide the following functions :
Battery Test Procedure
| 1. |
Connect the tester to the battery.
|
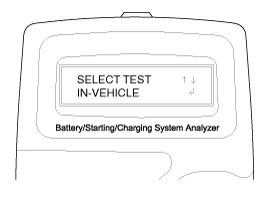
| 2. |
The tester will ask if the battery is connected "IN-VEHICLE"
or "OUT-OF-VEHICLE". Make your selection by pressing the arrow buttons;
then press ENTER.
|
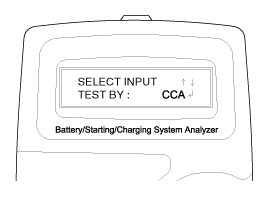
| 3. |
Select CCA and press the ENTER button.
|

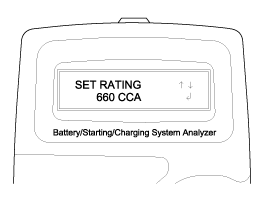
| 4. |
Set the CCA value displayed on the screen to the CCA value
marked on the battery label by pressing up and down buttons and press
ENTER.
|
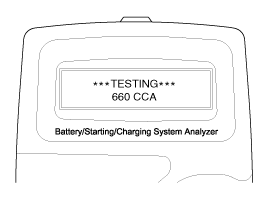
| 5. |
The tester will conduct battery test.
|
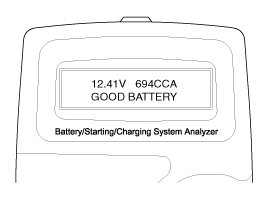
| 6. |
The tester displays battery test results including voltage and battery ratings.
Refer to the following table and take the appropriate action as recommended by the Micro 570.
Battery Test Results
[Charge and Retest method after battery charge]
Battery charge
Set battery charger to ‘Auto Mode’ (The Mode that
charging current drops as the battery charges.) and charge battery until
charging current down close to zero or the charger alerts you with an
alarm when charge is complete.
(Minimum charging time recommended: More than 3 hours with Auto Mode that explained above)
Battery Test after charge
Do not test battery right after the charge. Test battery
after battery surface voltage has subsided as instructed in the
following procedure.
Starter Test Procedure | ||||||||||||||||||||

| 7. |
After the battery test, press ENTER immediately for the starter test.
|
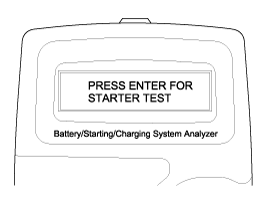
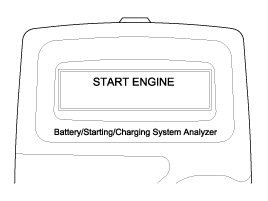
| 8. |
Start the engine.
|
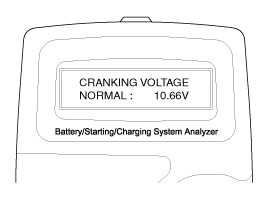
| 9. |
Cranking voltage and starter test results will be displayed on the screen.
Refer to the following table and take the appropriate action as recommended by the Micro 570.
Starter Test Results
Charging System Test Procedure | ||||||||||||
| 10. |
Press ENTER to begin charging system test.
|

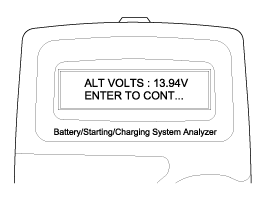
| 11. |
The tester displays the actual voltage of alternator.
Press ENTER to continue.
|
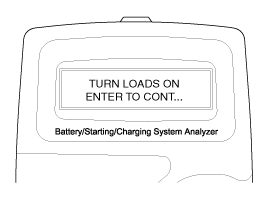
| 12. |
Turn off all electrical load and rev engine for 5 seconds
with pressing the accelerator pedal. (Follow the instructions on the
screen)
|
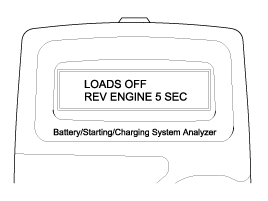

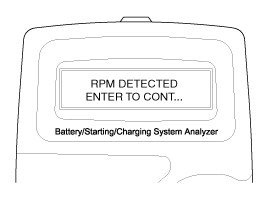
| 13. |
The message that engine RPM is detected will be displayed on the screen. Press ENTER to continue.
|
| 14. |
If the engine RPM is not detected, press ENTER after revving engine.
|

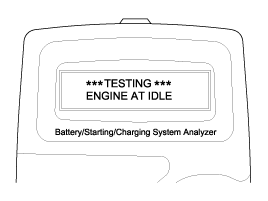
| 15. |
The tester will conduct charging system test during loads off.
|
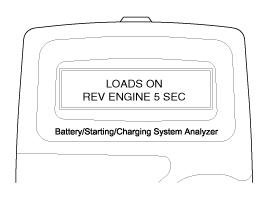
| 16. |
Turn on electrical loads (air conditioner, lamps, audio and etc). Press ENTER to continue.
|
| 17. |
The tester will conduct charging system test during loads on.
|

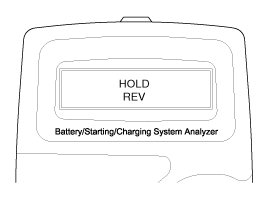
| 18. |
Rev engine for 5 seconds with pressing the accelerator pedal. (Follow the instructions on the screen)
|


| 19. |
The message that engine RPM is detected will be displayed on the screen. Press ENTER to continue.
|

| 20. |
If the engine RPM is not detected, press ENTER after revving engine.
|

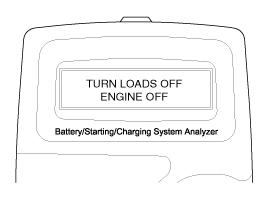
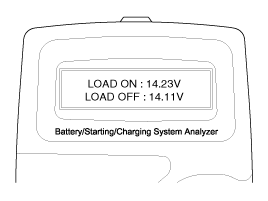
| 21. |
Turn off electrical loads (air conditioner, lamps, audio and etc). Turn the engine off.
|
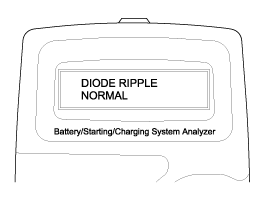
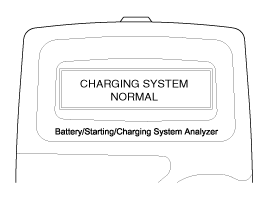
| 22. |
Charging voltage and charging system test results will be displayed on the screen.
Shut off engine end disconnect the tester clamps from the
battery. Refer to the following table and take the appropriate action as
recommended by the Micro 570.
Charging System Test Results
| ||||||||||
 Troubleshooting
Troubleshooting
Ignition System
SymptomSuspect areaRemedyEngine will not start or is hard to start (Cranks OK)Ignition lock switchInspect ignition lock switch, or replace as requiredIgnition coilI ...
 Ignition System
...
See also:
Additional safety precautions
All occupants should sit upright, fully back in their seats with their seat
belts on and their feet on the floor.
Passengers should not move out of or change seats while the vehicle is moving.
...
Washer fluid
...
Instrument panel overview
1. Instrument cluster
2. Horn
3. Driver’s front air bag
4. Light control/Turn signals
5. Wiper/Washer
6. Steering wheel audio control
7. Cruise control switch
8. ENGINE START/STOP button ...
Categories
Hyundai Azera Manuals

© 2011-2025 Copyright www.hgmanual.com